

Cleaning the Film Negative
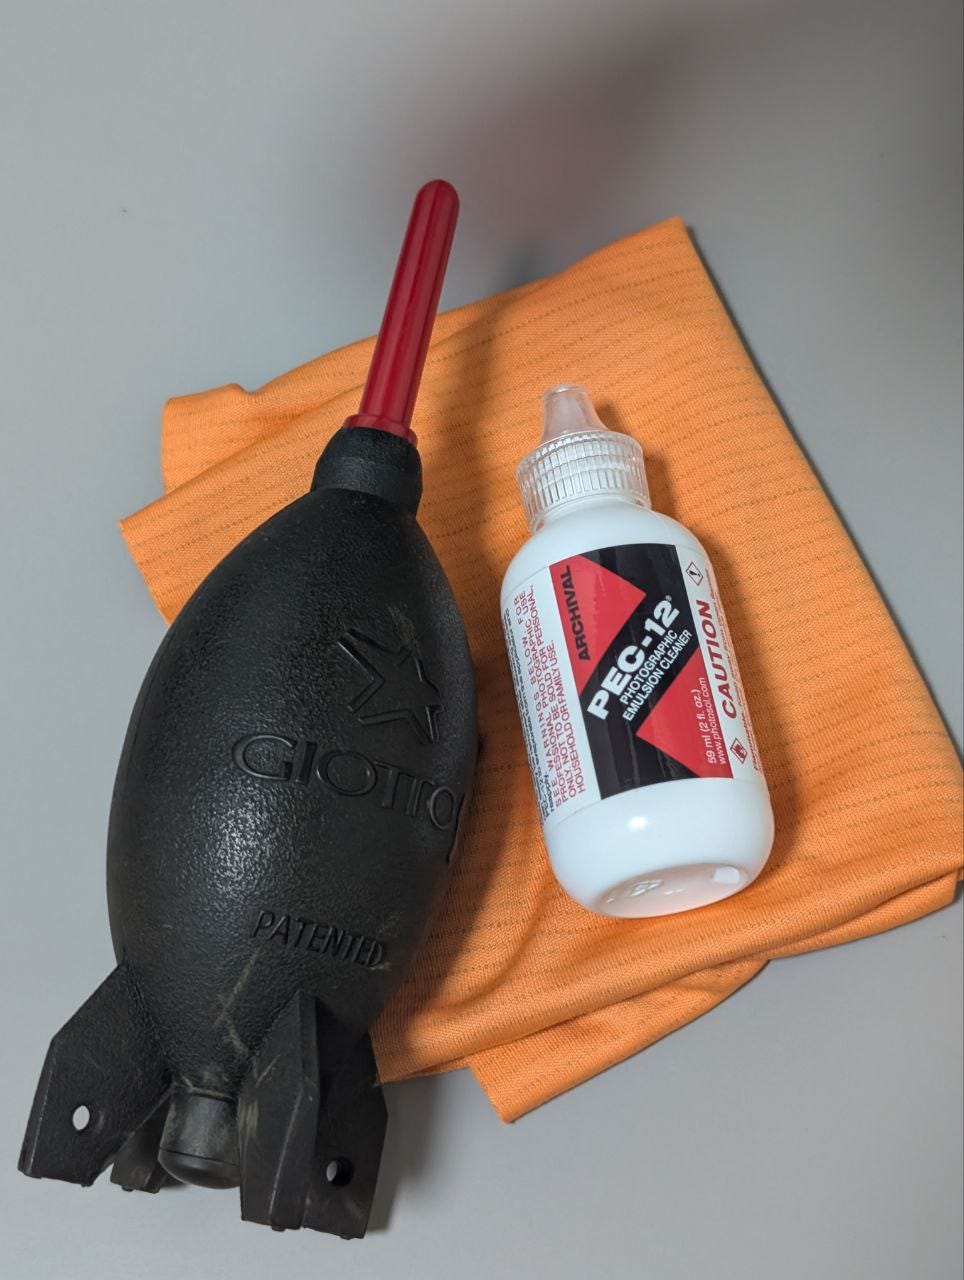
This is my secret to preparing my film negative for printing. It is best to make your film negative as dust free as possible. Dust particles that are on the film negative blocks light from passing through to the paper you intend to print on. The shadow cast by these dust particles will create white spots on your print. The larger the print, the more obvious the dust particles are.
There are ways to save it post-printing. It is a step called spotting where I would use black ink/dye to manually touch up the print. Basically painting back where the dust covered. It is a tedious process, so it is best to ensure that the print is as clean as possible.
The first step is to go through your film with the blower. While you can clear more dust with a cloth, you increase the chances of your film being scratch.
Afterwards, I go through the film with PEC-12 photographic emulsion cleaner. This solution works perfectly for me. I apply it on my Ilford antistatic cloth and go through the film as gentle as I can.
Usually, I will shine a bright light at a steep angle to examine if there’s any stubborn dust particles and repeat the process if I need to.
Grain Focuser
After setting the desired size for the print, I use the grain focuser to help me make sure that the projected image is razor sharp. Though I would like to say that I have great eye sight, I wouldn’t encourage anyone to eyeball this step.
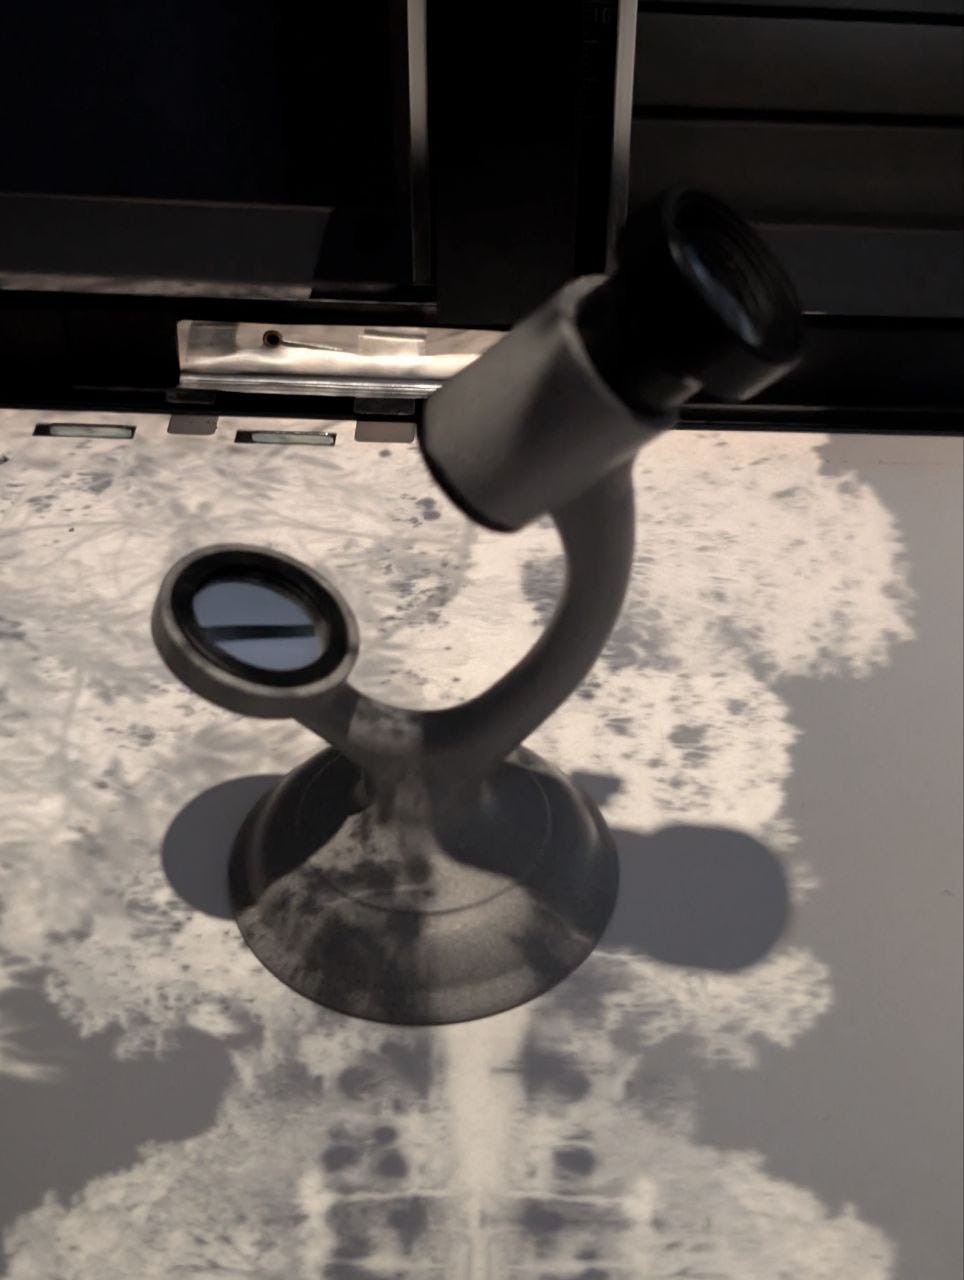
The 10X magnification from the tool allows you to see the grain structure of the film. With that, you can determine that your film is truly in focus.
Some tips to help you focus: open your enlarger lens aperture to the maximum to allow maximum light to passthrough, do this without any filters, and turn off the lights in your darkroom.
With a clean and sharp enlarged image of your film negative, you are ready to print!
- - -
Thank you for reading.
The next post will be the last part of this series where I will talk about the most exciting thing; The Print.


